2026-07-10
How to create an Instagram post for free (no design skills)
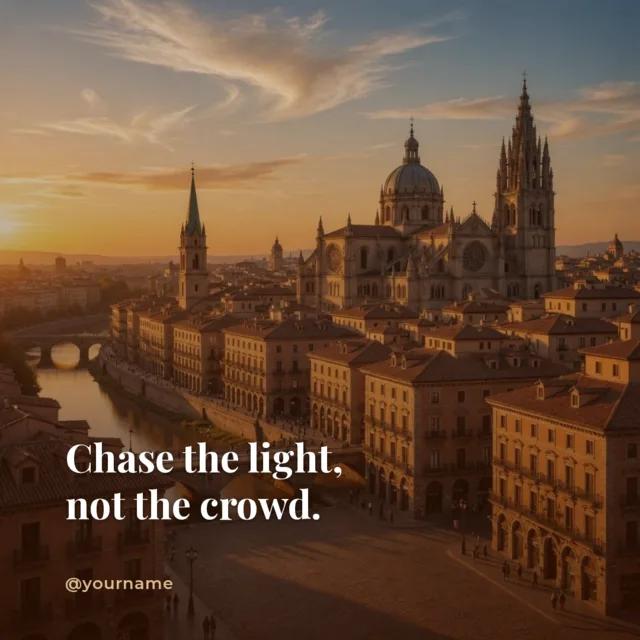
You don't need Photoshop, a subscription, or a design background to make a professional-looking Instagram post. With a free browser tool like Postzmaker you can start from a template, drop in your photo, edit the text, and download a ready-to-post image in a couple of minutes. This guide walks you through the whole process.
What you'll need
Just a web browser — on your computer or your phone. There's no app to install and no account to create. Optionally, have a photo ready if you want to use your own image instead of a template background.
Step 1 — Choose your size
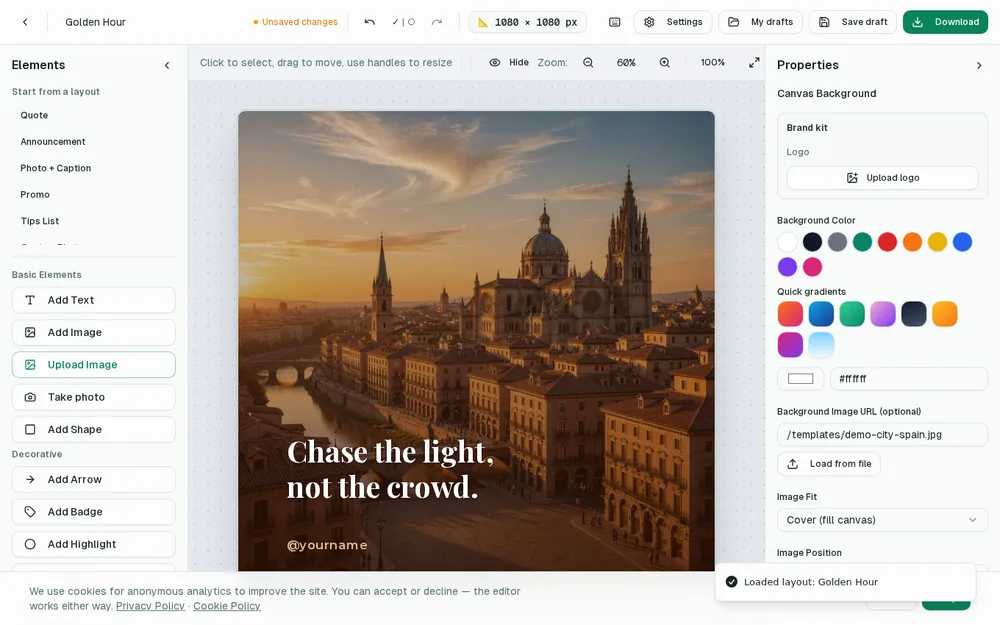
Instagram feed posts look best as a square (1080×1080) or portrait (1080×1350). Portrait takes up more vertical space in the feed, so it grabs more attention as people scroll. In the editor, open the size picker and tap one of these presets — you're already designing at the exact resolution Instagram expects, so nothing gets cropped.
Step 2 — Start from a template
A blank canvas is intimidating and slow. Instead, pick a ready-made layout that matches your goal — a quote, a photo caption, a promo, an announcement. The spacing, font pairing and visual hierarchy are already handled for you. All that's left is to make it yours.
Step 3 — Add your photo and text
- Replace the demo image with your own photo (upload it or take one with your camera).
- Tap the text and type your message. Keep the headline short — one strong line beats three weak ones.
- Adjust colors and fonts if you want, or use a font preset for an instant style.
Step 4 — Make the text readable
If your text sits on top of a photo, add a subtle dark overlay or a soft shadow so it stays legible against busy areas. Postzmaker's photo templates already include a readability gradient, but you can fine-tune it. A readable post is a post people actually stop to read.
Step 5 — Download and post
Export a PNG for the sharpest quality, or a JPG for a smaller file. WebP and PDF are available too. Save the image to your phone and upload it to Instagram like any other picture — no watermark, no branding, entirely yours.
Tips for a better result
- Keep a small, consistent palette and just one or two typefaces.
- Leave some empty space — it makes the design feel premium.
- Save your finished design as a draft to make the next post even faster.
Why design your Instagram post in the browser
Traditional design software is powerful but heavy: it costs money, takes time to learn, and often needs a fast computer. For a single social media post, that's overkill. A browser-based tool flips the equation — you open a tab and you're already in the editor, whether you're on a laptop at your desk or a phone on the bus. Nothing to download, nothing to update, and nothing to pay for.
There's also a real privacy benefit. Because the whole editor runs on your device, the photos you add and the drafts you save never travel to a server. That means your work stays yours, and you don't have to trust a company with your images just to make a quick graphic. For most creators, small businesses and side projects, this is exactly the right balance of speed, privacy and simplicity.
How to choose the right template
The template you start from does most of the heavy lifting, so it's worth choosing well. Think first about the goal of the post, then match it to a layout:
- Sharing a thought or a line from a review? Start from a quote template — big text, calm background.
- Showing a product or a place? Use a photo template with a caption, so the image leads and the words support it.
- Announcing a discount or an event? Pick a promo or announcement layout with room for a bold headline and a call to action.
- Not sure yet? A simple photo-plus-caption layout works for almost anything and is easy to adapt.
Once you've picked one, resist the urge to change everything at once. Swap the text first, then the image, then colors — one change at a time. This keeps the balance the designer built into the template and stops the post from looking messy.
Common mistakes to avoid
A few small missteps are what separate an amateur-looking post from a clean one. Watch out for these:
- Too much text. Instagram is a visual feed — if your image looks like a paragraph, people scroll past. Cut your words in half, then cut again.
- Low contrast. Light text on a bright photo is unreadable. Add an overlay or move the text to a darker part of the image.
- Too many fonts and colors. Two fonts and three colors is plenty. More than that feels chaotic.
- Ignoring the safe area. Keep important text away from the very edges so nothing gets cropped when it's posted.
- Exporting at the wrong size. Always design at 1080px or larger so your post stays crisp, never blurry.
A quick real-world example
Say you run a small bakery and want to promote a weekend offer. You'd open a square template, drop in a photo of your croissants, and add two lines of text: a big headline like “Weekend treat: 3 croissants for €5” and a smaller line “Saturday & Sunday only — see you in store”. You'd darken the bottom of the photo slightly so the white text pops, keep your brand's warm orange as the accent color, and export a PNG. Total time: about three minutes, and the result looks like something a designer made.
Reuse your design next time
The real time-saver comes on your second post. With the layout already sitting in your drafts, next week you can open it, change just the photo and the offer, and publish again in under a minute. Over time you build a small library of layouts that already match your brand, so every new post is fast and consistent. If you post regularly, keeping a couple of go-to layouts ready is the single best habit you can build.
Frequently asked questions
Do I need to pay or subscribe? No — the editor is free and there's no watermark on your downloads.
Can I use my own logo? Yes. Upload it as an image, or save it in the brand kit so it's one tap away every time.
Will it work on my phone? Yes, it runs in any modern mobile browser, so you can design and download directly from your phone.
That's it. From blank browser tab to finished Instagram post in just a few minutes, completely free. Open the editor, pick a square template, and create your first post now.